
A battered ground has never blocked the path of those who want to carve a way or install a terrace. The rigid guidelines of DIY books, which require turning everything over with a spade, do not hold up against the reality of gardening: there are gentler ways, without disturbing the entire terrain. That said, the idea of laying slabs directly on the grass is not trivial. They can shift, sink, especially if the ground is uneven or if the weather gets involved. Slabs with a honeycomb structure are less temperamental than raw stone. As for the installation technique, it primarily adapts to your uses, the repeated traffic, and the time you wish to dedicate to maintenance. Here’s how to avoid common pitfalls, succeed at each step, and ensure the durability of your setup.
Why choose slabs on grass to landscape your garden?
Installing slabs on the lawn breaks the rules and forgets the chore of earthworks. Gone is the ballet of wheelbarrows for nothing; here we preserve the lawn, keeping the soil alive. The space remains flexible, evolving, ready to embrace each new idea without disproportionate effort.
You may also like : Trends and Tips to Discover Fashion on Mode For You This Season
The choice of material directly influences the appearance and use. Natural stone stands out for its robustness and withstands the years without flinching, perfect for pathways or reception terraces. Wood, softer underfoot, creates a relaxed atmosphere, ideal around a reading nook or to define a temporary area in the garden. Composite, on the other hand, satisfies lovers of modern and practical surfaces, less affected by the capricious weather.
Laying slabs directly on the grass serves concretely to:
Read also : How to Order and Pay in Cash on Uber Eats: Complete Guide and Tips
- Trace a discreet path through the lawn, avoiding disfiguring the garden.
- Define a welcoming area, a play corner, or accommodate the family table on beautiful days.
- Change the decor with the seasons, without embarking on an endless project or permanently altering the terrain.
For those who want to revisit each step and check the implementation tips, the guide laying slabs on grass details the entire process pedagogically, from material selection to solutions to ensure stability.
What types of slabs to favor according to your uses?
The type of slab will make all the difference both practically and decoratively. Use stone to secure high-traffic areas or define major access points in the garden. Concrete stands out when you want a solid surface that can withstand tools, strollers, or bicycles without flinching. For relaxation areas, or an evolving space that will be arranged and moved according to your desires, wood or composite are preferred, appreciated for their warmth underfoot and lightness to the eye.
This table summarizes the most common uses and the average lifespan of the main materials:
| Slabs | Recommended Uses | Estimated Lifespan |
|---|---|---|
| Stone slabs | high-traffic paths, main walkways, welcoming terraces | 20 to 30 years |
| Concrete slabs | utility access, parking areas, technical thresholds | 15 to 25 years |
| Wood slabs | temporary terraces, relaxation areas, modular solutions | 8 to 15 years |
Mixing wood and stone easily energizes the whole, while keeping a light touch on the finishes: lay, move, reinvent. Nothing is fixed to the ground forever. Each person adapts according to their way of living in the garden, and the spirit of the place evolves freely.
The steps to follow for a durable and aesthetic installation
Prepare the ground: stability above all
No secret: without serious preparation, the installation won’t last. Clearly define the layout, then remove the grass to a moderate depth (generally between 3 and 5 cm). This action is enough to limit sinking and prevents the slabs from losing their place over time. Rake and compact the base carefully.
Here are the key points to follow when preparing your ground:
- Spread a layer of homogeneous sand 3 to 5 cm thick to level out imperfections and provide a draining base.
- If your soil retains a lot of water or has pockets of clay, add a thin layer of gravel under the sand: you gain stability and reduce the risk of sinking.
Install the slabs: the method to keep them in place
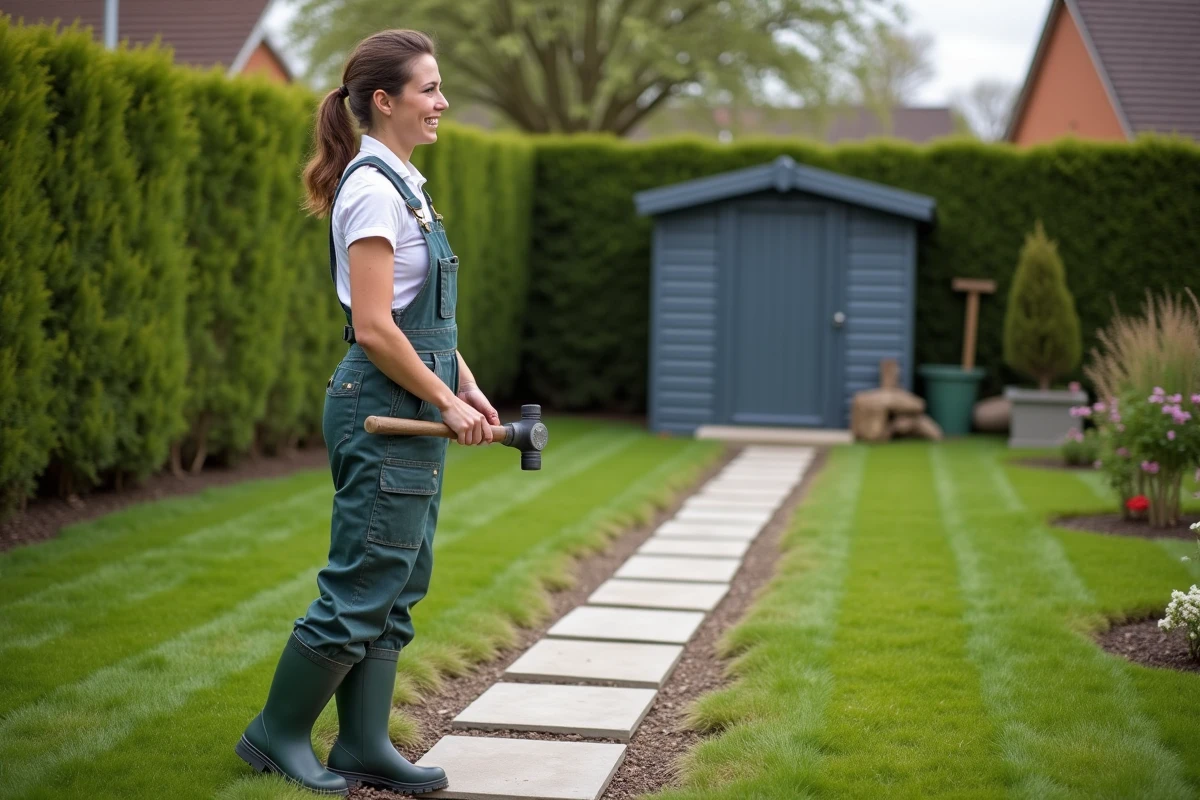
Align each slab according to the layout. Leave a one-centimeter gap between each to allow water and air to circulate, and to let the grass gently peek through. Tap with a mallet without insisting, just enough to anchor without cracking. For fragile lawns, specific plastic supports facilitate installation and extend lifespan.
Care for the finishes: what makes the difference
Fill the gaps with dry sand, then water to reinforce the whole and ensure the material settles well. A spade along the edges perfects the contours, limits the return of unwanted weeds, and keeps the path neat week after week. Every detail counts to give your slabs a flawless appearance.
As the layout settles, the garden transforms into a playground to be modulated, step by step. The terrace expands or moves throughout the summer, the lawn returns each time we redraw the contours. What matters is to give the garden the freedom we would like to grant ourselves: nothing fixed, everything to invent.